It is time to move to the most important part of a survey creation process, a Questions section.
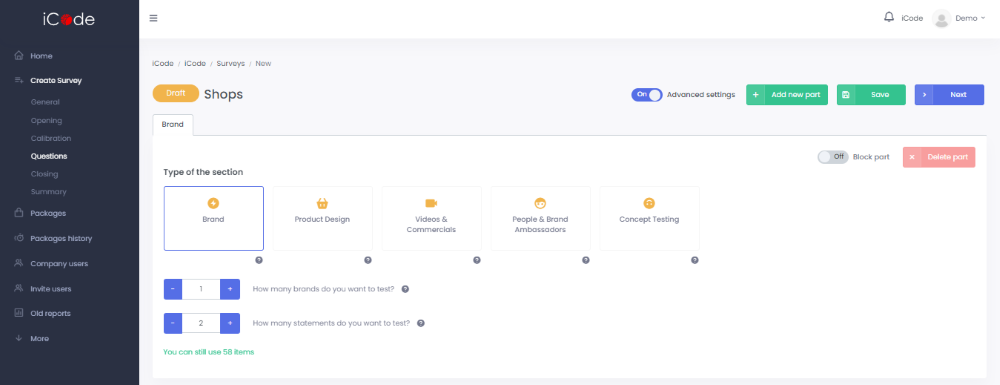
First, you need to decide on the Type of the section. To choose the type of the study, click on one of the boxes.
If you want to test more than one element, you can add a new part to your study. In this case, if you do not want parts to be rotated, turn on the Block part button.
You should also select how many elements (here an example of Brand) and statements you want to test.
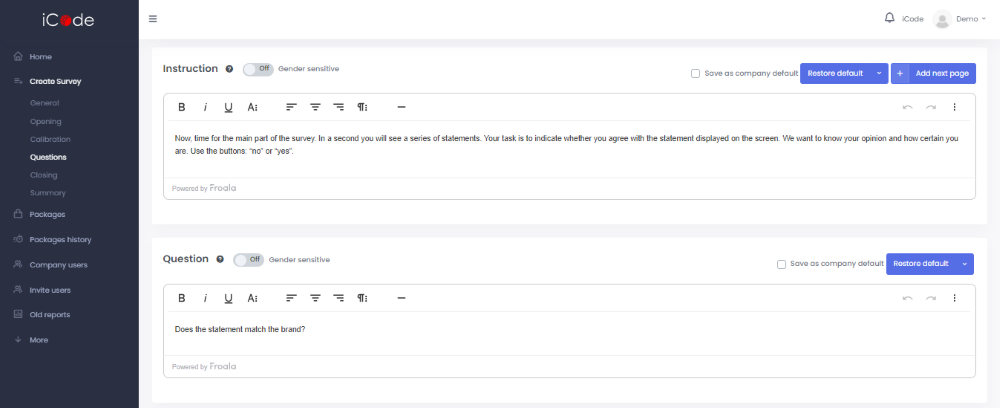
In the Instruction field you can type the message explaining to respondents the objective of a particular part of the survey.
In the Question field you should type the short question that is going to be presented to a respondent with the first few statements.

In Stimuli part you should enter your brand(s), product(s), etc. Stimuli may contain its visual representation, an image. You should upload a separate image for each stimuli. It is possible for you to either upload images from your computer or use images from your iCodeTM cloud.
Although in Brand and Concept testing types of survey an image does not necessary need to be a part of stimuli, it needs to appear in Product Design and People & brand ambassadors surveys. If you create a Videos & Commercials survey, you may upload a video from your computer or Cloud.
Statements are are short attributes that respondents will evaluate against every element you have decided to test. They should not be longer than 90 characters (including spaces).
You can choose Statements you want to test in three ways: write them on your own, choose them from the list of recommended statements or your statements (by double – click or drag & drop) or load them from the excel file. We recommend using a template that you may download here.
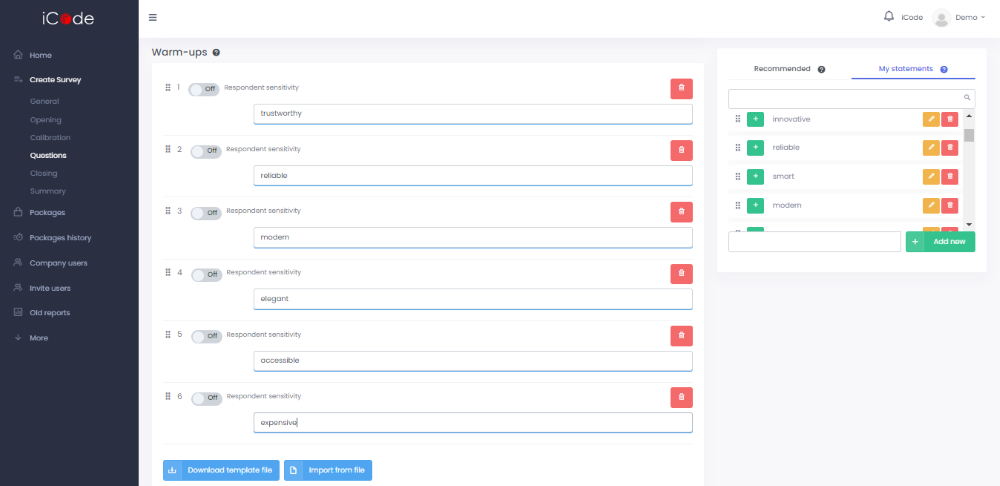
As you select the last statement to test, you need to specify the Warm-ups, which are going to appear just before the tested statements during the survey.
Their aim is to familiarize respondents with the form of a survey. You can go with the default list of warm-ups given by iCodeTM , load them from an excel file or select them yourself (by typing them or drag & drop). To specify warm-ups faster, you can also use a template file. Make sure that your warm-ups are similar in sense and refer to the topic of the study, although their meaning should be different than of the tested statements (do not use synonyms).
If in your survey the number of statements is more than one, you need to specify six warm-ups for each part. In case your survey consists of more than one part, you need to upload six warm-ups to each one of them, since the parts are going to rotate and it is not possible to predict which one is going to appear in the beginning. A respondent is going to see six warm-ups before the first part and three warm-ups every time before the next ones. In case you decide to block parts in some other position than a first one, you need to upload just three warm-ups for them, since there is no chance for them to appear in the beginning of a survey. If you decide to block a particular part in a first position, you need to define six warm-ups only for this part and three each time for the rest of parts. This instruction applies to all kinds of surveys and parts. What is more, if you are testing one statement for multiple brands, product designs or people & brand ambassadors, you need to add three warm-ups, having a form of example brands, product designs or people. In case you are testing videos & commercials or concepts it does not apply. Remember, that answers provided for the warm-ups will not be included in the report.
If you want to create a survey that consist of more than one part, iCode™ enables this option.
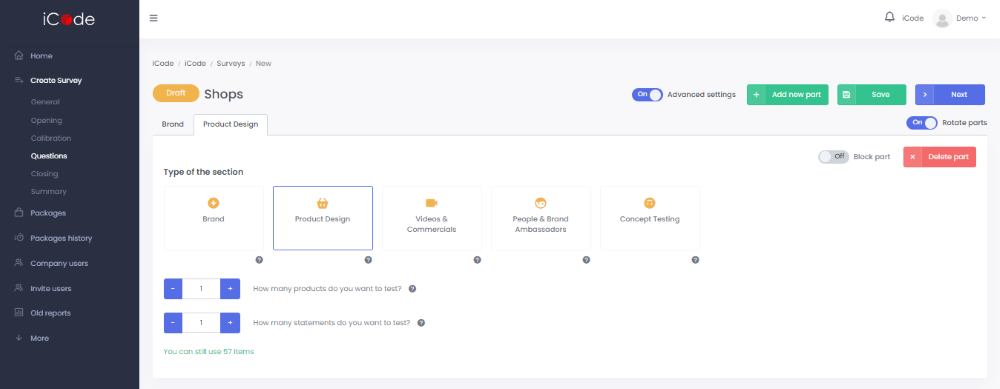
First, click on the option Add new part that is visible at the top of the screen in Questions section. Secondly, choose the Type of section for the additional part and specify a number of tested elements and statements. Then follow all steps similarly to the previous part/parts that you have already filled in.
If at this stage you turn on the Advanced settings button, you are going to keep an access to Calibration section.